
Mar 01 2025 0 Comment
by Nisha Supyal May 02 2023
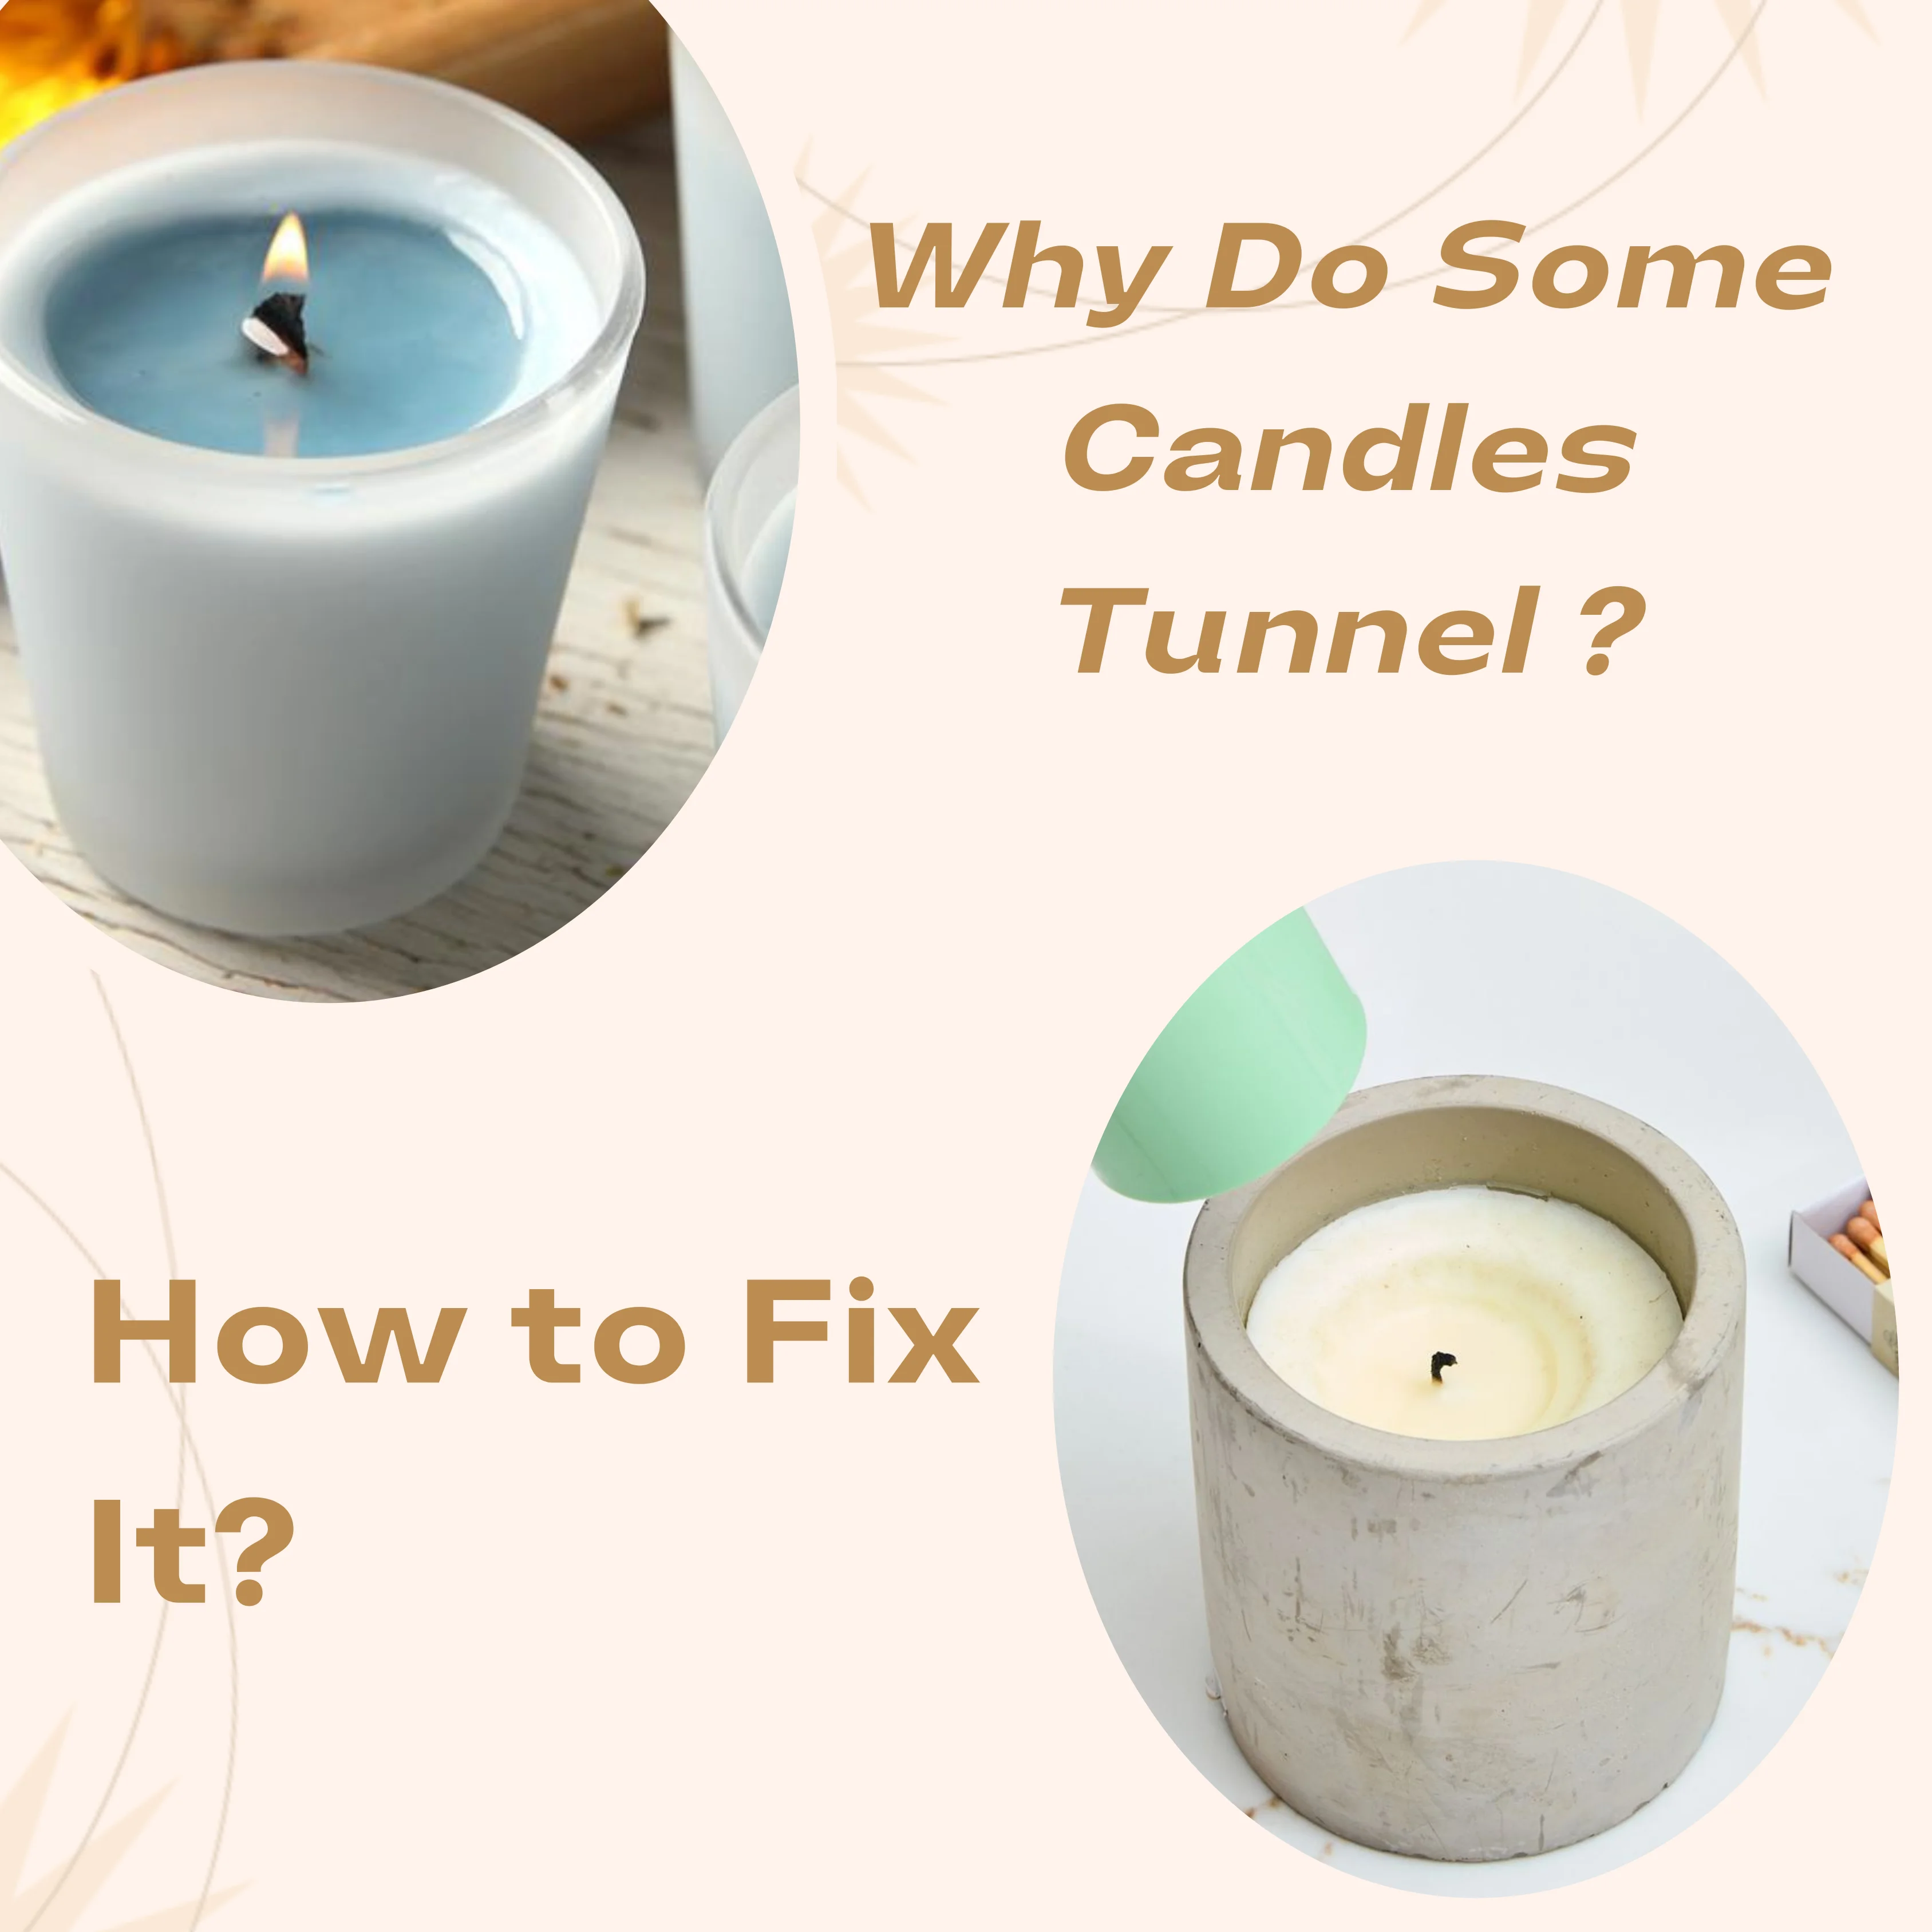
Have you ever noticed a candle burning unevenly, with wax building up around the edges while only the center melts? This frustrating issue is called candle tunneling, and it can significantly reduce the burn time and overall lifespan of your candle. But don’t worry—there are ways to prevent and fix tunneling so you can enjoy your candles to the fullest!
Candle tunneling happens when only the center of the candle melts while the outer wax remains solid. Instead of creating an even melt pool that reaches the edges, the wick burns straight down, forming a tunnel. Over time, the wick may get buried in wax, making it hard to relight.
There are several reasons why a candle may tunnel. Understanding these causes can help you prevent the problem before it starts.
The first time you light a candle is the most important because wax has "memory." If you don’t let it burn long enough to reach the edges, it will keep tunneling in future burns.
Solution:
? For the first burn, let the candle melt evenly across the entire surface. This usually takes 1–3 hours, depending on the size of the candle.
If the wick is too small, it won’t generate enough heat to melt the wax evenly. This often happens with low-quality candles or improper wick selection.
Solution:
Use candles from reputable brands that test their wick sizes for proper burning.
If the wick is too small, you can try warming the candle (explained in the fixes below).
Burning a candle in a breezy area can cause an uneven melt pool, leading to tunneling.
Solution:
Keep candles away from fans, air conditioners, or open windows.
Always place your candle on a flat, level surface to ensure even burning.
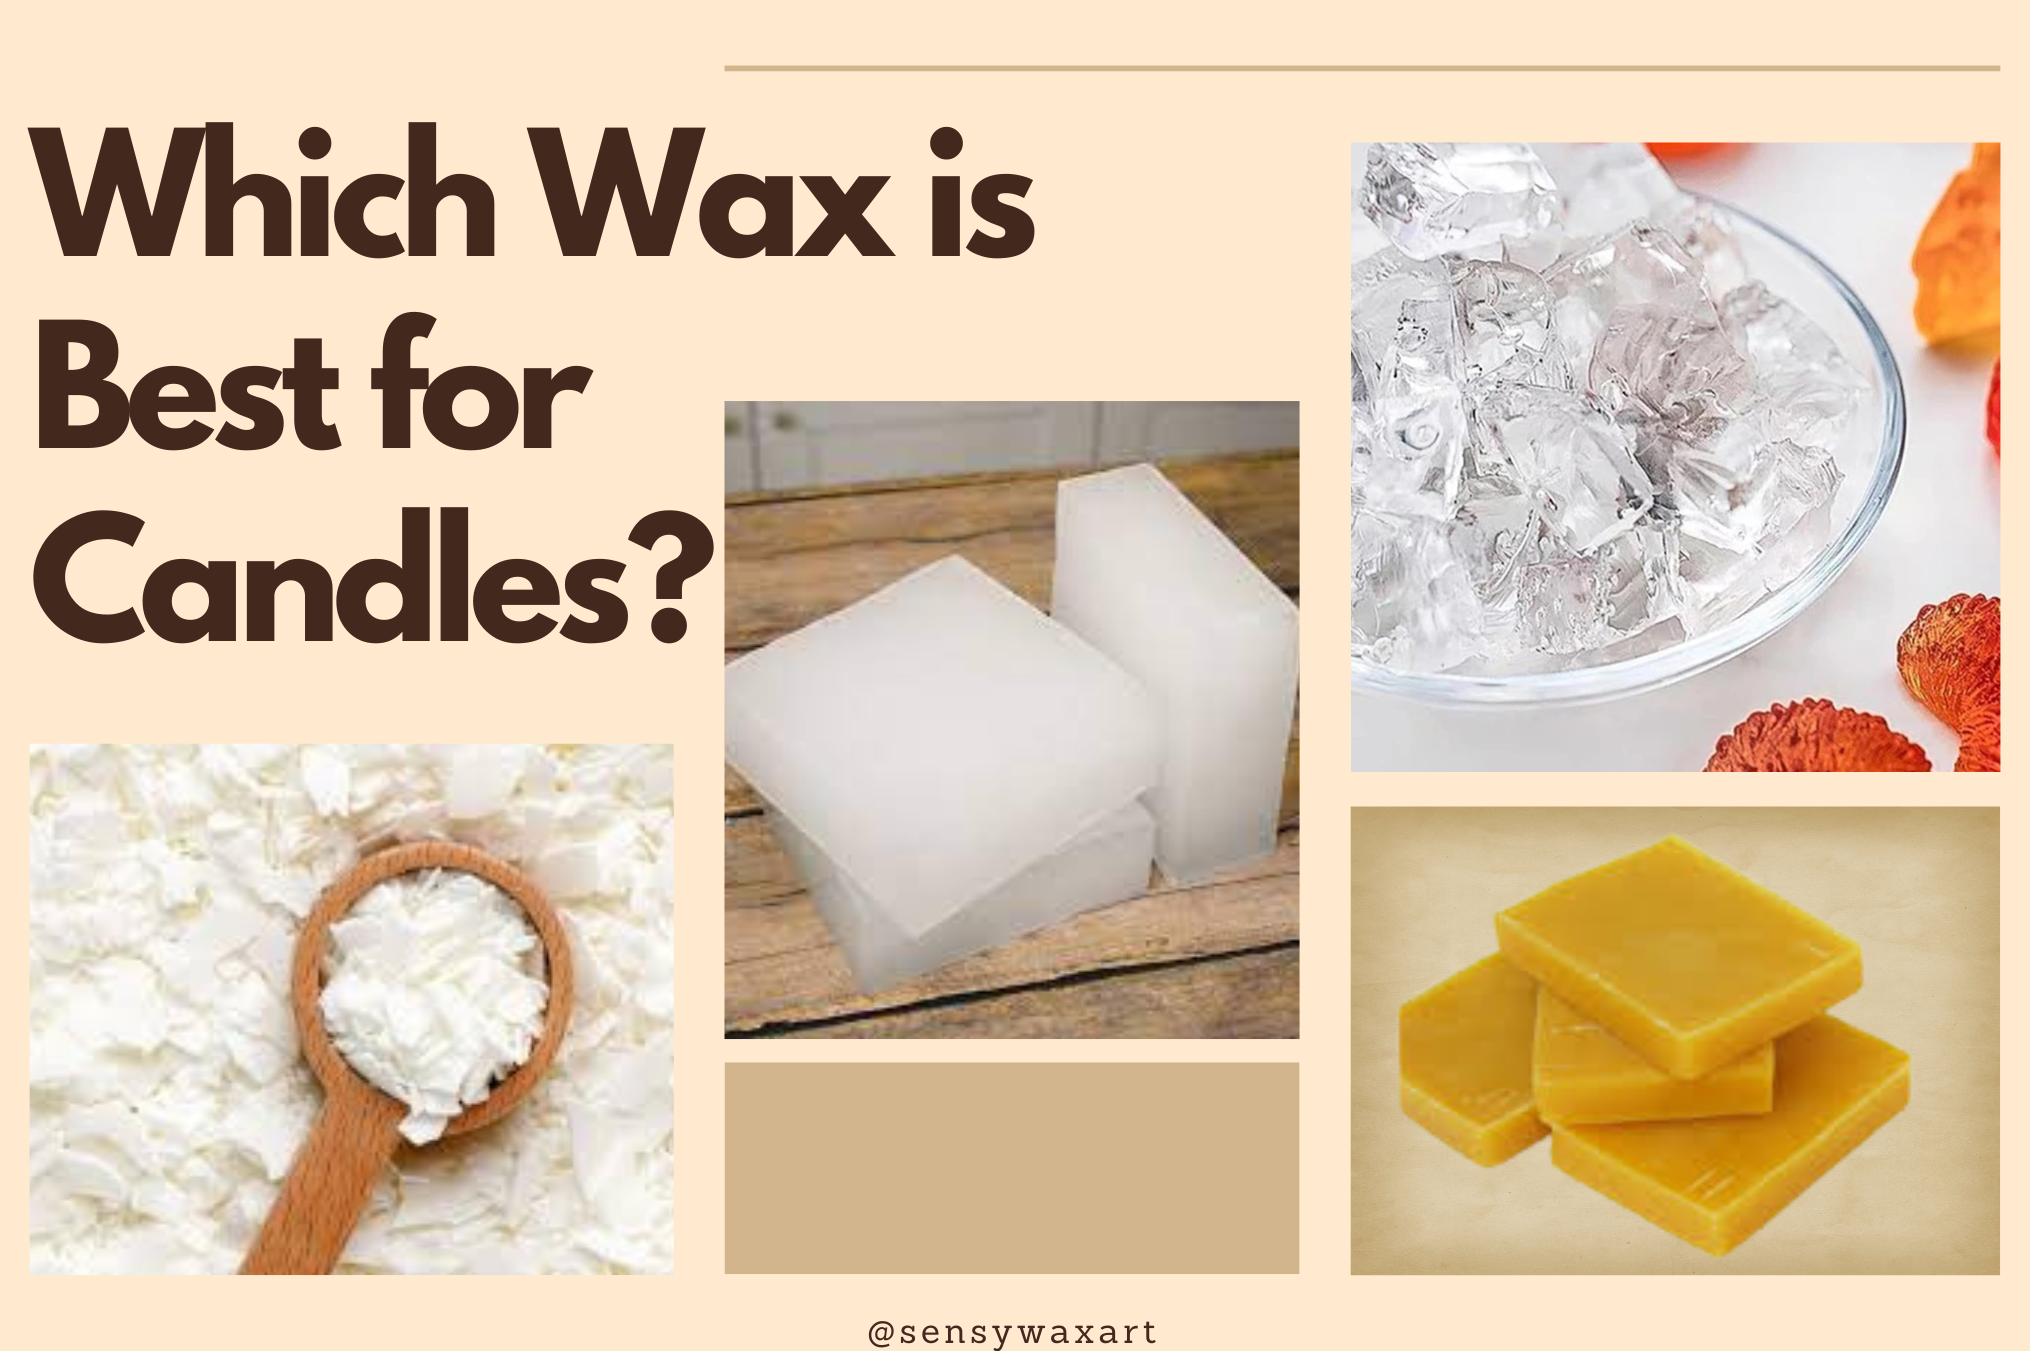
Some waxes, like paraffin, tend to burn hotter, while others, like soy, burn cooler. If the wick and wax combination is not properly balanced, tunneling can occur.
Solution:
Choose high-quality soy, beeswax, or coconut wax candles with well-tested wick sizes.
If your candle has already started tunneling, don’t worry! Here are some easy ways to fix it:
One of the easiest ways to fix a tunneled candle is by using aluminum foil.
Steps:
Light the candle.
Take a piece of foil and wrap it around the top rim of the candle, leaving an opening in the center.
Let it burn for 30 minutes to 1 hour.
The foil traps heat, melting the wax evenly across the surface.
Remove the foil once the wax reaches the edges.
? Best for: Medium to mild tunneling.
If your candle wick is drowning in wax, you can reset the surface using an oven.
Steps:
Preheat the oven to 170–180°F (75–80°C).
Place the candle on a baking sheet and put it in the oven for about 10–15 minutes.
The wax will soften and even out.
Carefully remove the candle and let it cool completely before relighting.
? Best for: Candles with deeply tunneled wax.
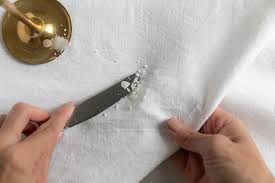
If you need a fast fix, use a hairdryer or heat gun to melt and even out the wax.
Steps:
Set the hairdryer or heat gun to medium heat.
Hold it a few inches away and gently melt the wax, moving it around to even out the surface.
Once smooth, let the wax cool before relighting.
? Best for: Quick surface-level fixes.
First Burn is Key: Always burn your candle long enough to melt the top layer completely.
Trim the Wick: Keep your wick trimmed to ¼ inch (6 mm) before each burn to avoid uneven burning.
Burn in a Stable Environment: Avoid drafts or slanted surfaces.
Use High-Quality Candles: Premium candles with well-balanced wicks and wax formulas burn evenly.
Candle tunneling can be annoying, but with the right techniques, you can fix it and prevent it from happening again. By following these simple tricks, you’ll ensure your candles burn beautifully, giving you more hours of warm, cozy light.
Have you ever dealt with tunneling? Try these methods and let us know which one worked best! ???

Feb Fri 2025

Feb Fri 2025
Mar 01 2025 0 Comment
Feb 28 2025 0 Comment
Feb 28 2025 0 Comment
May 07 2023 0 Comment

May 07 2023 0 Comment
comment 0
Be a first one to comment!